The CAM230 camera selector (switcher) can be used for a wide variety of applications. It engages a dynamic presentation for HyFlex classroom webinars or live-streaming. Maintain the flow of your presentation by switching cameras.

Discover advanced application below with:
- Nureva
- Nureva + SONY
- Q-SYS

Lecture room
The CAM230 is the perfect solution for lecture rooms, offering optimal experiences for online collaboration and presentations. With the ability to switch between three different camera feeds (2x USB and 1x HDMI), the CAM230 allows you to keep the flow of your presentation by switching cameras hassle-free.

Larger spaces (large conference room & auditorium)
INOGENI’s CAM230 + Nureva audioconferencing system enables easy multi-camera switching in larger spaces.
Solution uses sound location data to automatically switch views in Microsoft® Teams and Zoom Rooms using any USB or HDMI camera with the INOGENI CAM230.
INOGENI, the pro AV leader in USB video mixer/switcher/converter products, enables a new camera zones feature for Nureva’s HDL410 system that integrates the Nureva’s HDL410 audio conferencing system (sound location data) with the INOGENI CAM230 multi-camera selector.
Setup is quick, with only a few minutes needed to define up to three zones that are each mapped to a camera and its view of the room. During a meeting or class, sound location data is used to automatically activate the camera that is mapped to the zone where someone is speaking, making it easier for remote participants to follow the conversation. The feature is compatible with Microsoft Teams, Zoom and other UC&C clients that don’t natively support multiple camera streams in a room.

Automatic switching of two or three cameras in a larger space naturally creates a more engaging remote collaboration experience by giving remote participants a clear view of the active talker. For example, the camera view automatically switches between a presenter or instructor at the front of the room and others in the space, depending on who is speaking.
Read the press release or for more information about the HDL410, visit Nureva’s website
Nureva + SONY + INOGENI
Automated camera switching for flex spaces
Get advanced audio and videoconferencing in flex spaces with automated camera switching hanks to Nureva’s HDL410 audio conference system, Sony Bravia display, Sony SRG cameras and INOGENI’s CAM230 multi-camera switcher.
Visit the Nureva website page featuring the SONY and INOGENI ecosystem integration
Download the Nureva reference design brochures
Nureva HDL410 + SONY cameras and display + INOGENI’s CAM230
CAM230 with Q-SYS Core processors

INOGENI’s plugins are now available in the Q-SYS Designer® software, enabling fast USB multi-camera mixing and switching capabilities.
Seamless integration with Q-SYS technology solutions
- Robust control modules
- Easy integration using the Asset Manager library
- Reduced integration time of INOGENI products in Q-SYS environments
- Greater flexibility and control over video processing solutions
- Compatible with Q-SYS Core processors
- Maintenance throughout Q-SYS Designer updates
Enables users to create more complex and engaging content
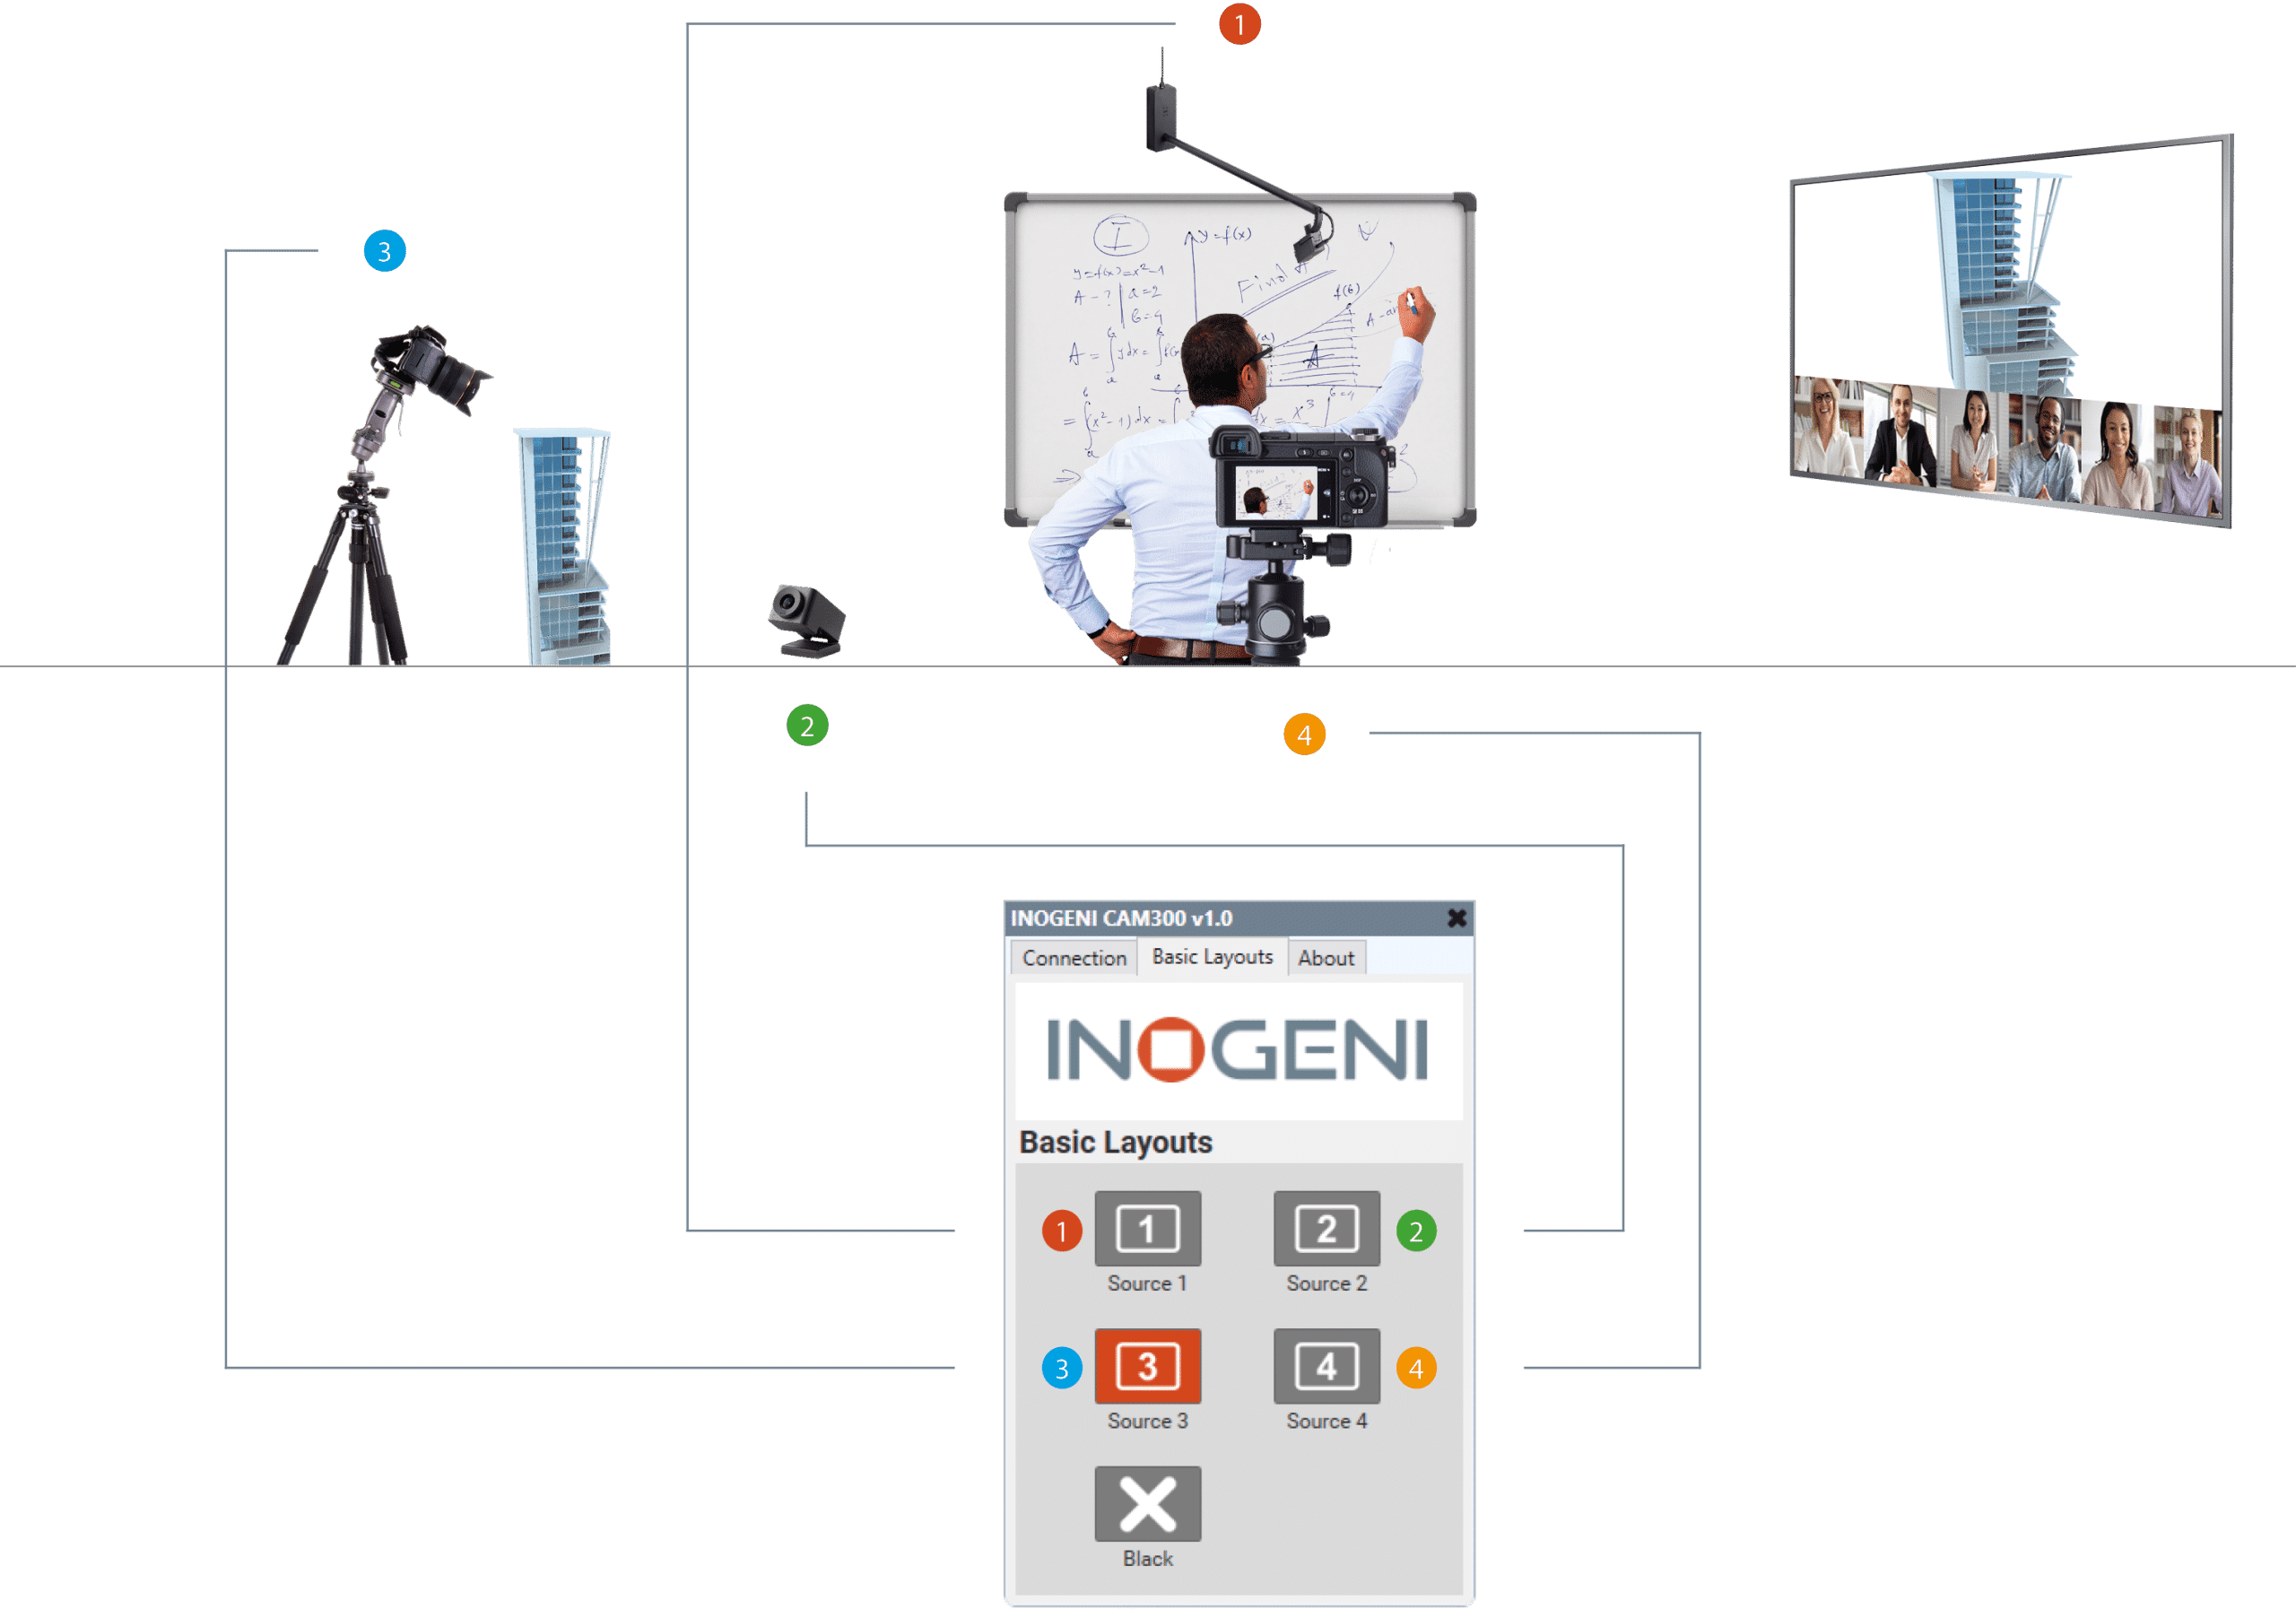
INOGENI CAM230 3x camera switcher capabilities on Q-SYS Core
-
- 3 video camera sources (2 USB and 1 HDMI) clean switcher into a single USB 3.0 interface
- Example for 4 camera for the CAM300

Easy touchscreen icon on the Q-SYS Core interface

Easy steps to install INOGENI SHARE2/SHARE2U/CAM300 in a Q-SYS environment
By following these steps, users can easily integrate the SHARE2 / SHARE2U / CAM300 / CAM230 into their Q-SYS environments and enjoy USB AI multi-camera mixing capabilities. The detailed documentation and easy-to-use Q-SYS Designer software make the installation process straightforward and accessible for all levels of users.
Here’s how it works
- Locate the plugins in the Q-SYS Designer software’s Schematic Elements > Plugins section. They are stored in two category folders: Asset Manager and User.
- Use Asset Manager to install and manage plugins. Review the Description information and any requirements before installing.
- To update a plugin, go to the Updates tab in Asset Manager and select the plugin and version you want to update.
- Beginning with Q-SYS 8.2.0, QSC-authored plugins include a new component property, Is Managed. This adds the plugin to your Inventory list and makes the plugin’s status available for monitoring in Core Manager and Q-SYS Reflect Enterprise Manager.
- Note that each managed plugin consumes a Q-SYS Reflect Enterprise Manager Peripheral license. Check the remaining number of peripherals your Enterprise Manager subscription allows in the Organizations section. For more information, visit the Enterprise Manager Help.
Plugins allow you to integrate many third-party AV devices into your Q-SYS design and control those devices with separate, installable scripting components. Discover the complete procedure for the Q-SYS system.


